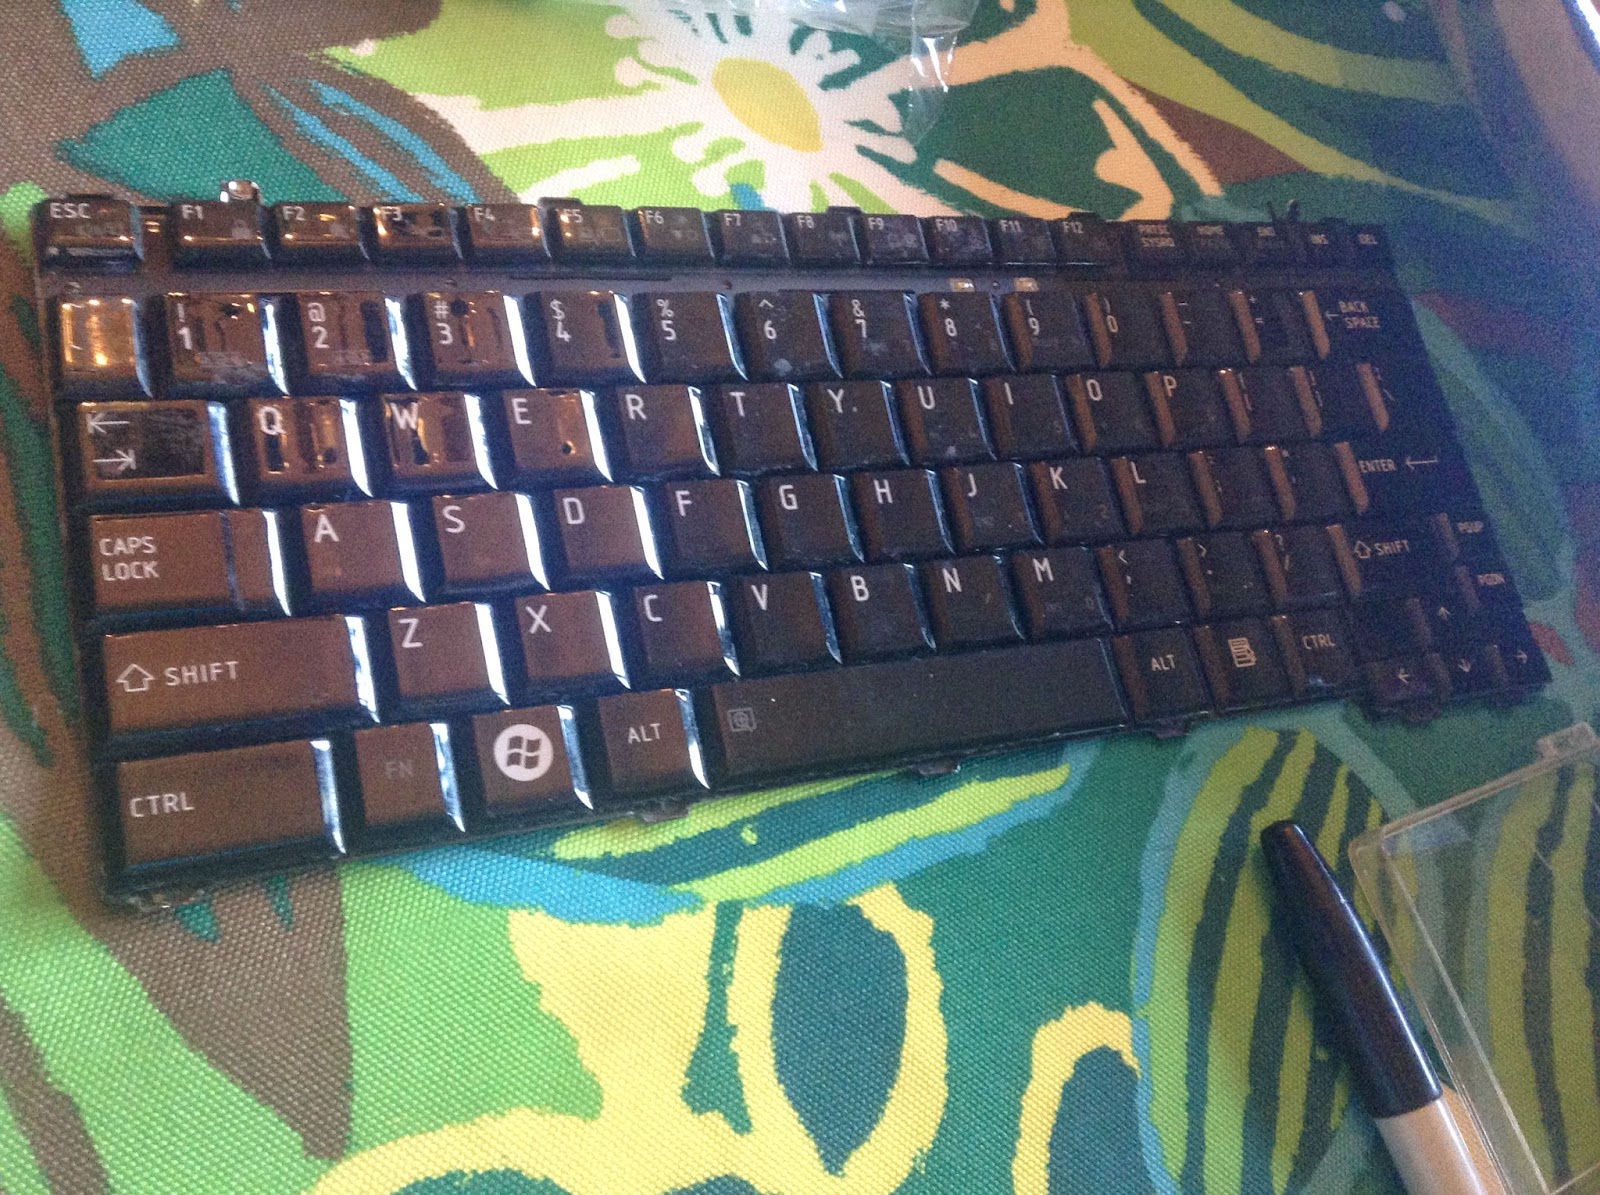
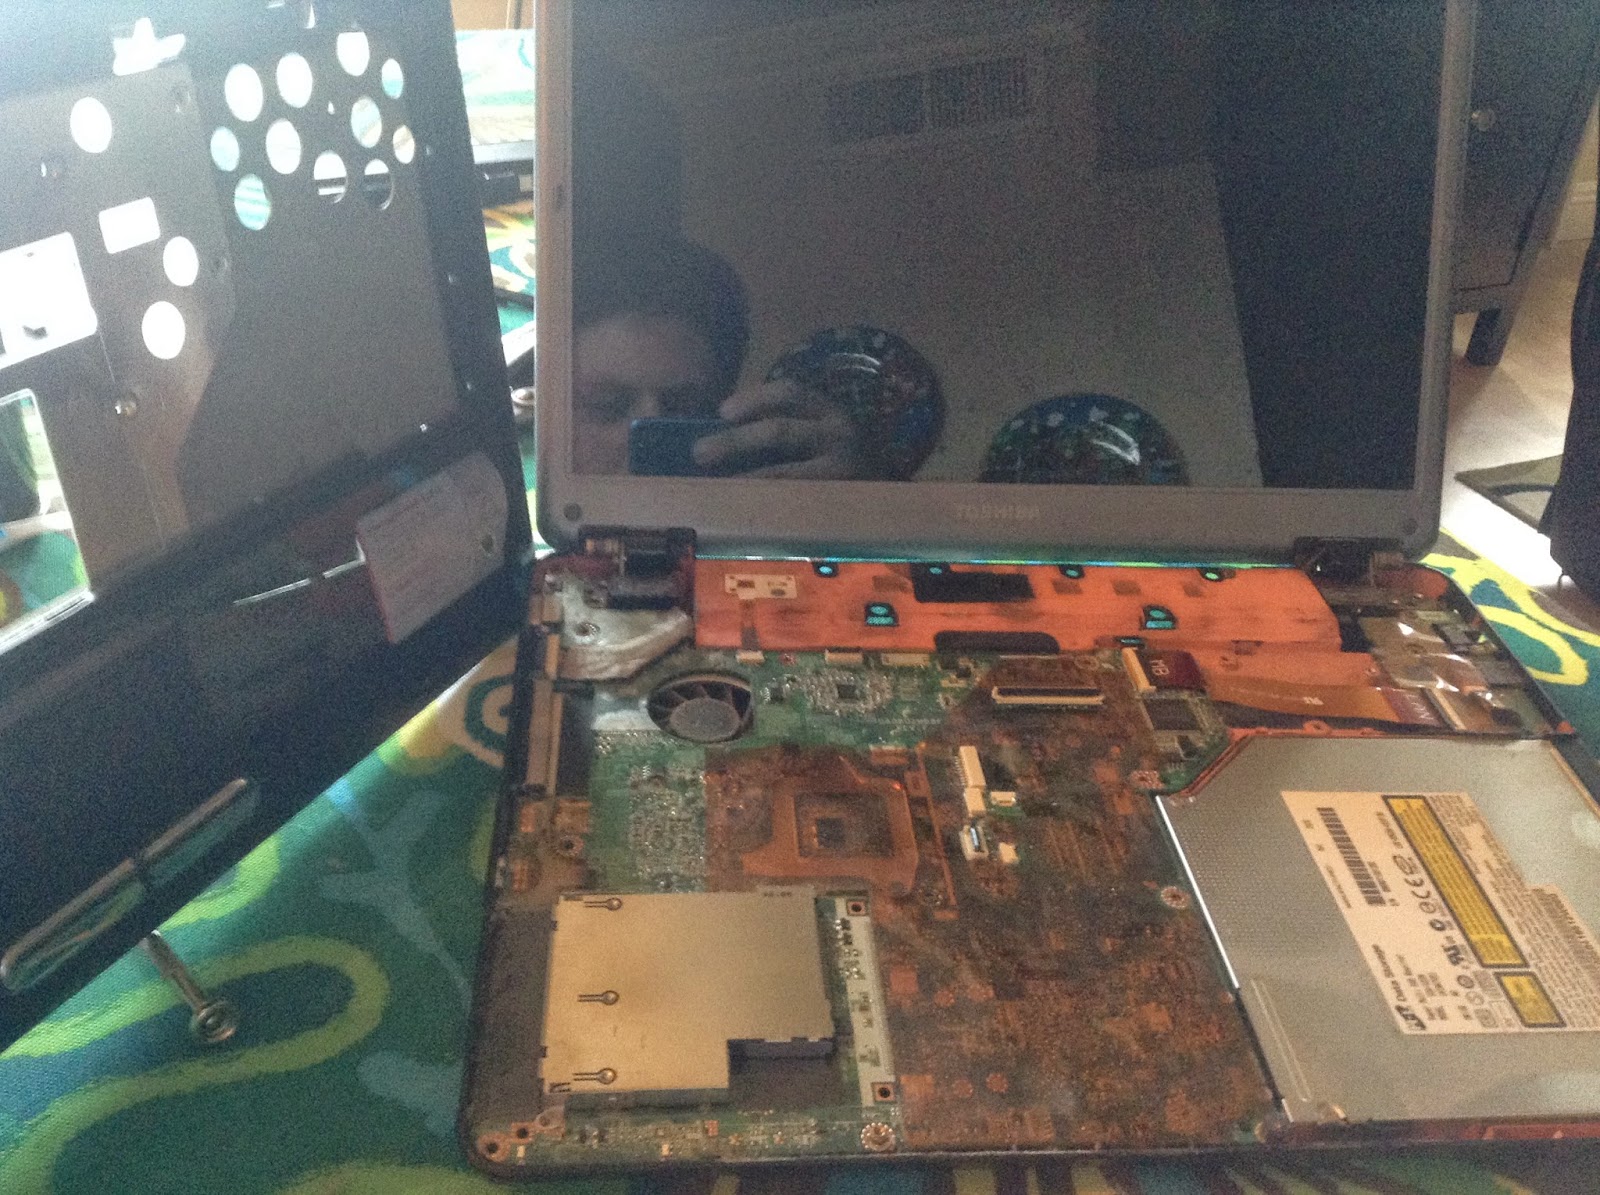
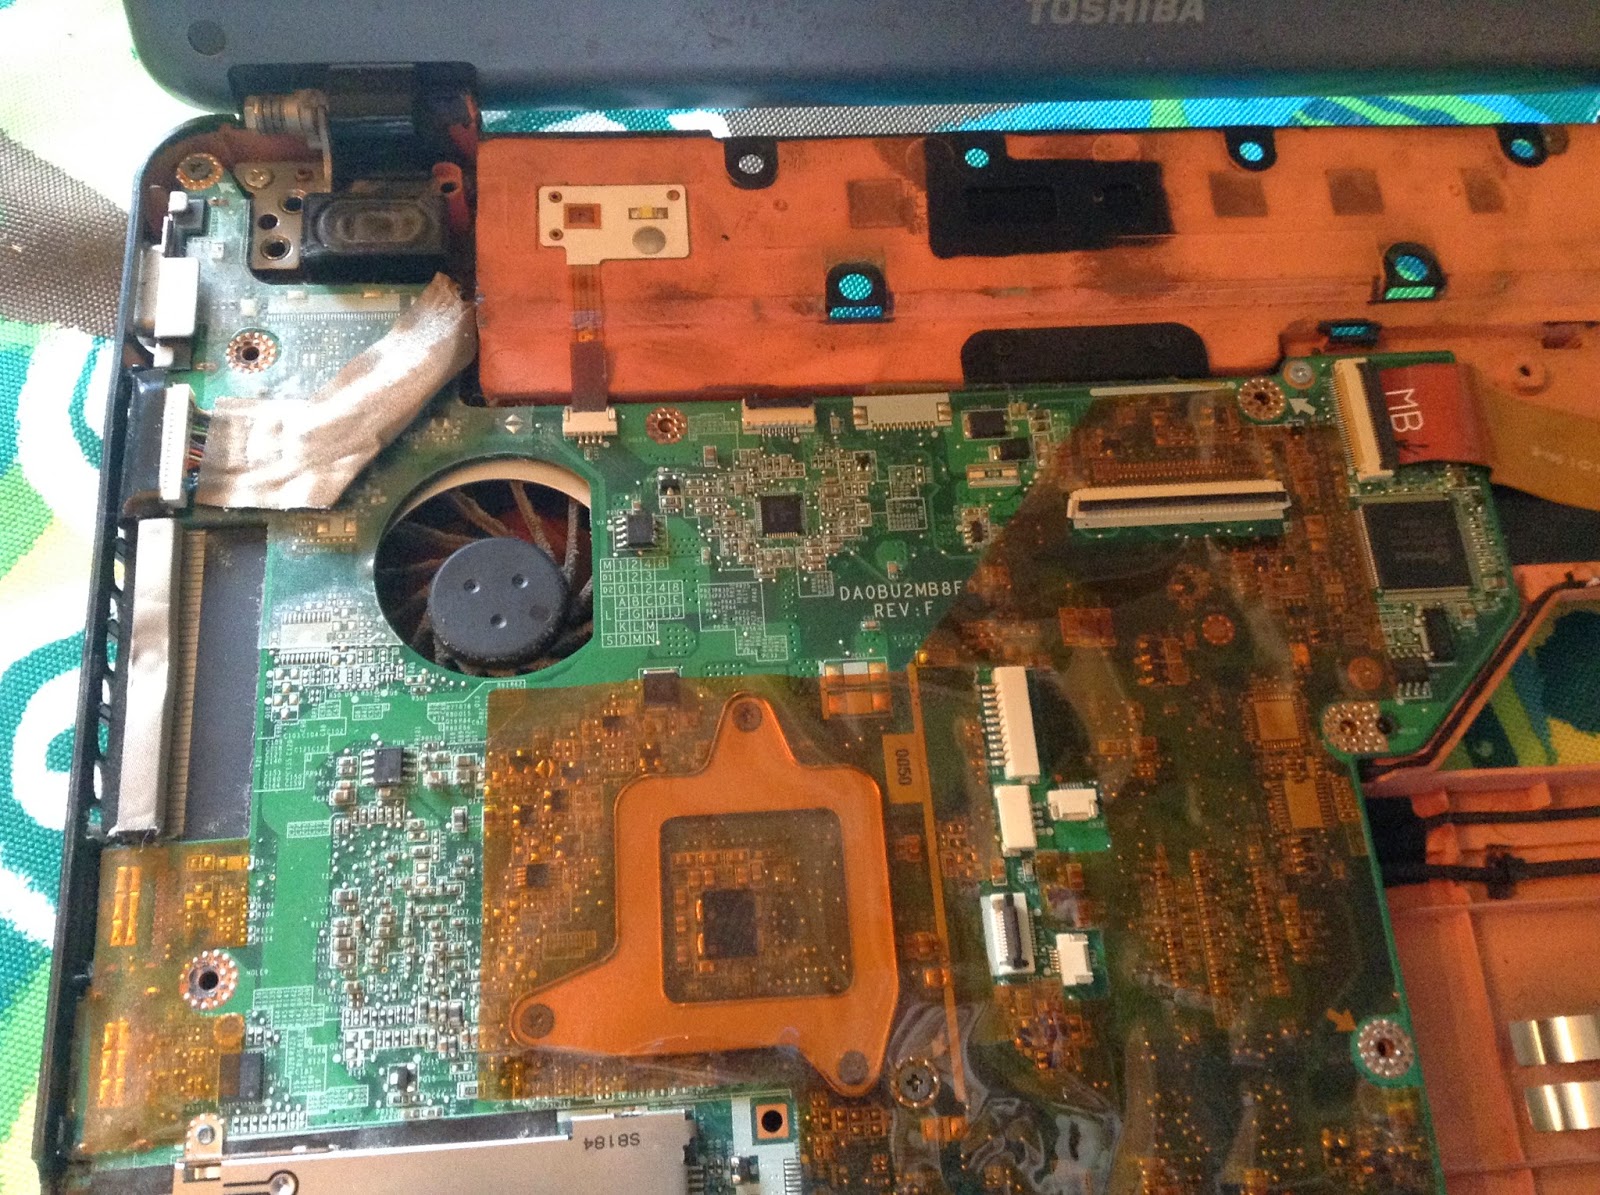
The next step was taking off the keyboard and front panels so I could access the Motherboard and its components.
By exposing the motherboard I was able to see why my computer continued to overheat when It was operable... It was extremely dusty.
I finished by removing the Motherboard and removing the LCD display and webcam from their casing
I bagged all of the different parts afterwards. Here are all of the parts and the tools I used to disassemble the laptop:
I decided to see if my current laptop had any available RAM slots so I could give it another 2GB of memory, but all of its slots were taken up. I then took off the back panel of my family's computer to see if I could install it there, and I then learned that Laptops and Desktops have different sized, incompatible, types of RAM cards. I was able to see the layout of our desktop, which may be useful later.


No comments:
Post a Comment